

Stencil workflow
How to make a tattoo stencil from a reference image
A practical way to decide what becomes Linework, what stays tonal and what should disappear before the transfer.
 VETER FIELD NOTES
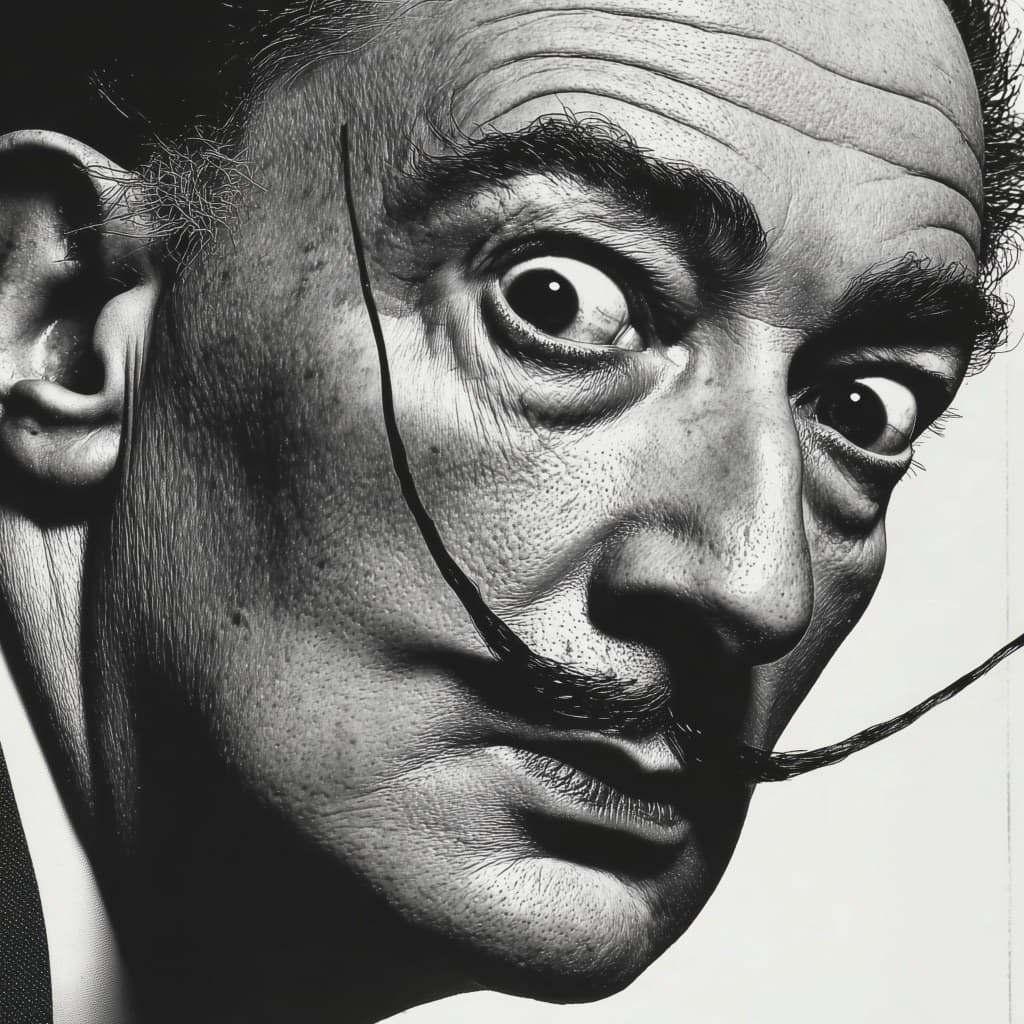
A useful tattoo stencil is not a photocopy with the colour removed. It is a visual plan. The goal is to preserve the identity and structure of the reference while reducing it to information that can be transferred, read and tattooed without confusion.
Read the reference before tracing it
Start by identifying the outer silhouette, the main internal shapes and the few details that carry the subject’s identity. These three levels do not need the same line weight or density. If every edge becomes a line, texture and lighting quickly turn into noise.
Zoom out often. A stencil that only works at 300% will usually become unclear on skin. The important structure should still read when the reference is small or viewed from a normal working distance.
Build a hierarchy of lines
Use continuous lines for structural boundaries and broken or lighter marks for secondary information. Shadows do not always need a closed contour. In realistic work, a small guide can be more useful than outlining the entire tonal mass.
Keep deliberate breathing room between nearby lines. The stencil is the start of the tattoo, not the finished tattoo itself; it needs enough separation to remain readable after transfer and during the session.
Check the transfer version
Before exporting, mirror the stencil when the placement requires it, compare it with the original and inspect the result on a white or transparent background. Remove isolated marks that do not help placement, proportion or execution.
Finally, print or preview at the intended size. Line spacing that looks generous on a large monitor can close up quickly on a smaller tattoo.
Keep reading
Keep reading
More practical guides for building a clearer reference-to-stencil workflow.

Put it into practice